A kitchen can look clean and still be risky
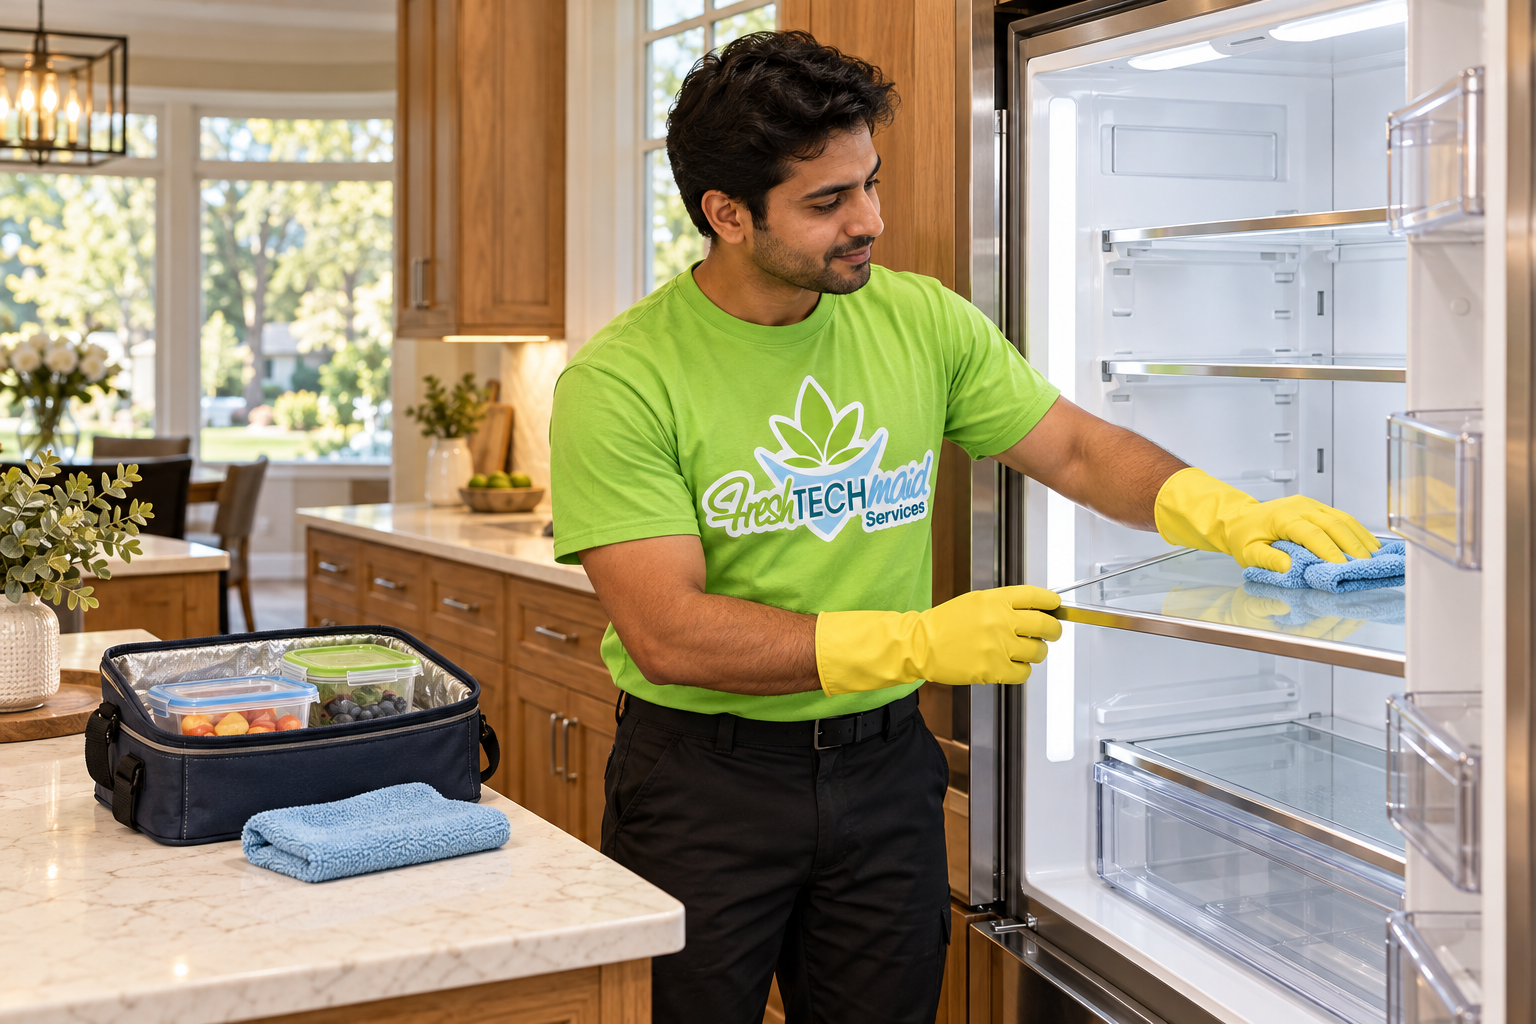
Quick question.
If I swabbed your sink, sponge, and fridge handle right now, would you want to see the results?
Most people don't.
Not because they're dirty.
Because kitchens hide "invisible mess."
That's true in a four-bedroom house, a townhome, and a one-bedroom condo near the Palatine Metra station.
"Most people don't. Not because they're dirty. Because kitchens hide 'invisible mess.'"
— Author: Wells Ye
Here are the numbers I keep in my head when I clean:
The "clean" kitchen that wasn't
A client once told me, "My kitchen is already clean."
The counters were clear.
The floor looked great.
It smelled like lemon.
Then I opened the fridge.
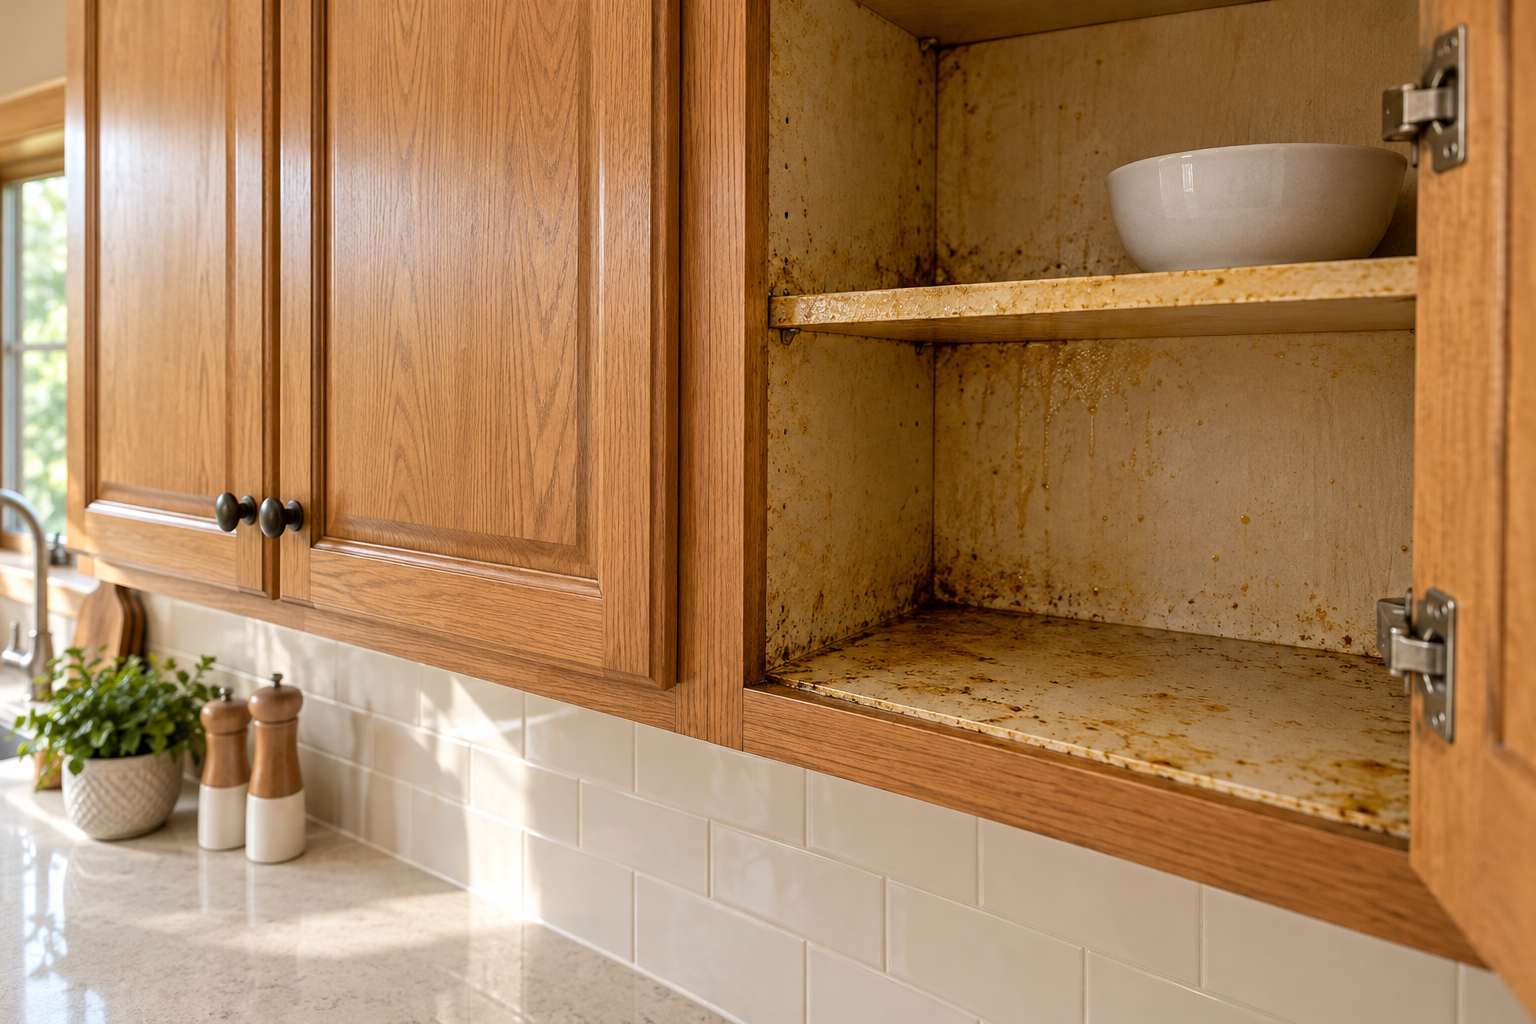
Under the drawer was a sticky film.
And the fridge handle looked fine… until I wiped it with a white cloth.
That kitchen didn't need more effort.
It needed a better order.
This matters even more in a kitchen that has kept the same cabinets, hood, and appliances for decades. In Palatine, 73.6% of homes were built between 1940 and 1989 (CMAP, 2024). The outside gets wiped every week. The inside, the top, and the back often don't.
"Order means light and peace, inward liberty and free command over one's self; order is power."
— Henri Frédéric Amiel
What you'll get from my process
In this guide, I'm going to share:
- My quick assessment to choose deep clean vs general clean
- My 8-step cleaning order (dry pass → wet pass → floors last)
- A wipe option and a steam option for the key areas
- A Palatine section on older surfaces, garage-entry floors, hard-water spots, and move-in timing
- A maintenance routine that keeps your kitchen clean with less work
Now, here's what I see in almost every home.
Your kitchen works harder than any other room. Grease splatters bake onto surfaces. Tiny oil droplets settle on cabinets. Food residue hides in corners.
It doesn't matter if you cook every night, only on weekends, or mostly reheat after a long shift. The buildup still happens.
That brown splatter behind the stove? Baked-on cooking grease. The sticky film on cabinet doors? Layers of airborne oil. The funky smell when you open the fridge? Food that stayed too long.
These aren't seasonal problems.
They're everyday kitchen reality.
"These aren't seasonal problems. They're everyday kitchen reality."
— Author: Wells Ye
Why I lean on DI water + HOCl (and avoid chemical residue)
I'm Wells Ye, owner of Fresh Tech Maids. We specialize in chemical-free cleaning across Chicago, Evanston, and the northwest suburbs, including Palatine.
I'm careful about one thing that changes everything: residue.
Nearly all house cleaning relies on chemical cleaners.
If "clean" leaves a chemical film behind, that film becomes a dirt magnet. Dust sticks. Grease sticks. And you're cleaning again fast.
A chemical film on the surfaces where you prepare food is not what you want.
That's why I use deionized (DI) water as a general cleaner. It's water with the minerals removed. DI water pulls dirt off surfaces and dries without leaving chemical residue or mineral spots.
That second point matters in Palatine. Village water comes from Lake Michigan by way of the Evanston treatment facility and the Northwest Water Commission (Village of Palatine). Like other Lake Michigan tap water, it carries dissolved minerals. When tap water dries on a faucet or a dark counter, you see white spots. DI water doesn't leave them.
"My rule: Clean and disinfect without leaving cleaning chemical film everywhere!"
— Author: Wells Ye
When I need targeted disinfection for high-touch areas, I use hypochlorous acid (HOCl). After it works, what's left is water and a tiny amount of salt.
HOCl is also used to wash produce. It kills harmful bacteria and viruses without leaving chemical residue.
My rule:
Clean and disinfect without leaving cleaning chemical film everywhere!
Do these 5 things today
If you do nothing else, do these 5 (under 15 minutes):
- Toss the sponge if it smells or is older than 2 weeks.
- Rinse and scrub your dishwasher filter.
- Wipe the fridge handle, microwave handle, and stove knobs with HOCl (follow label dwell time).
- Check your fridge temperature (aim for ≤ 40°F / 4°C).
- Clear one counter section and keep it as your "clean prep zone."
"The journey of a thousand miles begins with a single step."
— Lao Tzu
What you get back
A reset kitchen gives you:
- Faster cleanup after meals
- Less odor (sink, fridge, dishwasher)
- More food-safety confidence
- A kitchen you can unpack into, host in, or come home to after a commute
- Less stress when you walk in
"Small daily improvements over time lead to stunning results."
— Robin Sharma
Now let's name the hidden toll.
The Hidden Toll of a Neglected Kitchen — And What It Means for Your Household
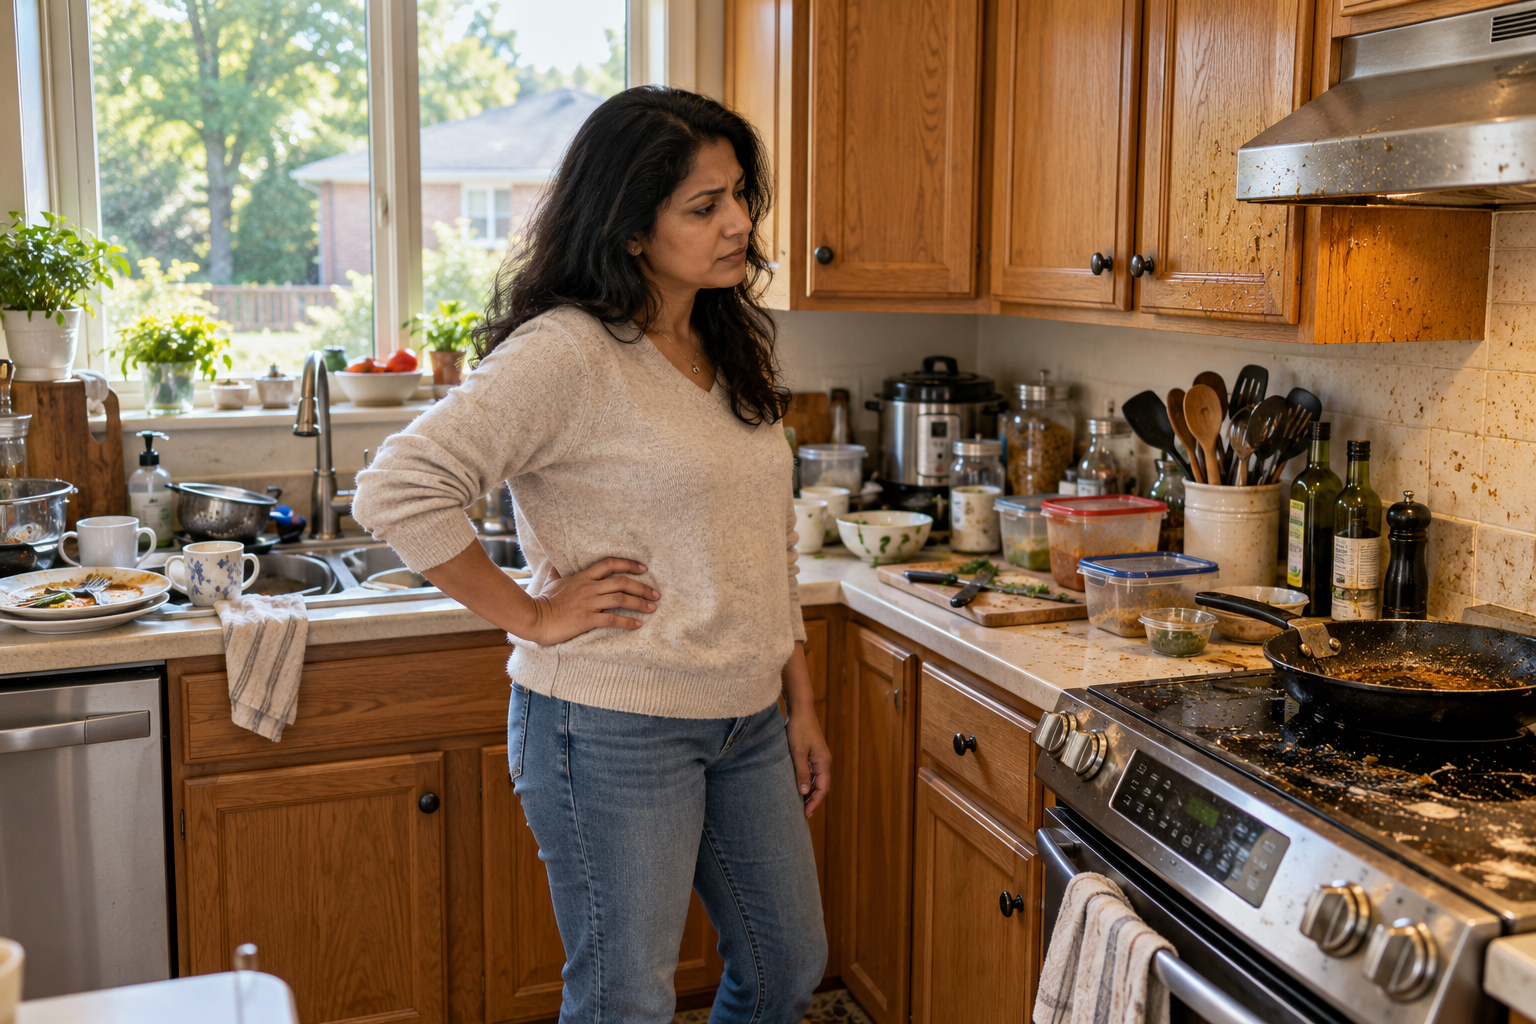
Short Summary: A dirty kitchen affects food safety, fire risk, appliance life, and stress. Young children, older adults, and anyone with a weak immune system face the highest food-safety risk. In Palatine, 38.4% of residents are 50 or older (CMAP, 2024).
If your home is a mess, how can you work, rest, and recharge? A neglected kitchen brings stress, illness, and risk into every part of life—whether you live alone, with a partner, with kids, or with aging parents.
Food safety hazards
- Cross-contamination from raw meat and poultry
- Salmonella survives on kitchen surfaces up to 32 hours (USDA, 2015)
- 60% of people who wash raw poultry still have bacteria in their sink (USDA, 2019)
- Leftovers are generally safe only 3–4 days in the refrigerator (FoodSafety.gov, 2024)
The consequences
- Severe diarrhea, vomiting, fever
- Higher risk for young children, adults 65+, pregnant people, and anyone immunocompromised
- Salmonella: 1.35M infections and 420 deaths yearly in the U.S. (CDC, 2024)
- E. coli can cause kidney failure (CDC, 2024)
- Listeria can be dangerous in pregnancy and for newborns (CDC, 2024)
Grease and grime buildup
- Carbonized oven grease = fire hazard
- Airborne grease settles on cabinets, soffits, and vents
- Older range hoods that recirculate air (instead of venting outside) leave more grease on nearby cabinets
The consequences
- 170,000 home cooking fires in 2021 (USFA, 2023)
- Residential fires overall caused 2,540 deaths and $8.21B property loss in 2021 (CPSC, 2023)
Appliance strain
- Dusty fridge coils reduce efficiency
- Clogged dishwasher filters breed odor
- Mineral scale from hard tap water builds up on dishwasher parts and faucet aerators
The consequences
- Coil buildup can increase energy use; some experts estimate up to ~25% (Better Homes & Gardens, 2026)
- DOE recommends cleaning coils; average fridge lifespan is about 12 years (DOE, 2022)
- Dishwasher replacement often $500–$1,500 (HomeAdvisor, 2025)
- Refrigerator replacement often $1,500–$3,000+ (Fixr, 2025)
Contamination hot spots
- Sponges and rags, cutting boards, sink, handles and knobs
- The door handle and light switch between the garage and the kitchen
The consequences
- Coliform bacteria found on 75%+ of dish sponges and rags (NSF, 2011)
- Drexel researchers found fecal coliforms in 44% of home kitchens they studied (Drexel University, 2017)
Focus and Productivity
- Visual clutter reduces working memory and adds mental load
- It's harder to switch off after a shift or a 27.7-minute average commute (CMAP) when the kitchen is waiting for you
The consequences
- Clutter raises cortisol (a stress hormone), which can leave you anxious and short-tempered with the people you live with (WebMD)
"If our home is a messy danger, how can we work, rest, and recharge?"
— Author: Wells Ye
The Three-Phase Framework: My Complete Kitchen Cleaning Process
Short Summary: Phase 1 gets the kitchen to a clean baseline. Phase 2 keeps it there with quick, light cleaning. Phase 3 handles what maintenance can't. This works the same in a condo galley kitchen and a large single-family kitchen.
This is the professional approach I use. It saves time and gets better results.
- PHASE 1: Initial Setup Cleaning ("Get Your Kitchen in Good Condition"). Purpose: build a clean baseline so maintenance is easy. When: before you can maintain well—and ideally right after you get the keys to a new home.
- PHASE 2: Maintenance Cleaning ("Keep It Clean"). Purpose: keep your clean kitchen clean with little effort. Type: quick, light cleaning only—NEVER deep cleaning.
- PHASE 3: Periodic Reset ("Occasional Deeper Cleaning"). Purpose: handle what maintenance can't over time.
"To be prepared is half the victory."
— Miguel de Cervantes
Your Kitchen Cleaning Assessment
Short Summary: Answer 10 yes/no questions. Your YES count tells you whether to start with a general clean or a deep clean, and how often to maintain and reset.
Your Results Plan
Phase 1: Initial Setup Cleaning — Get Your Kitchen in Good Condition
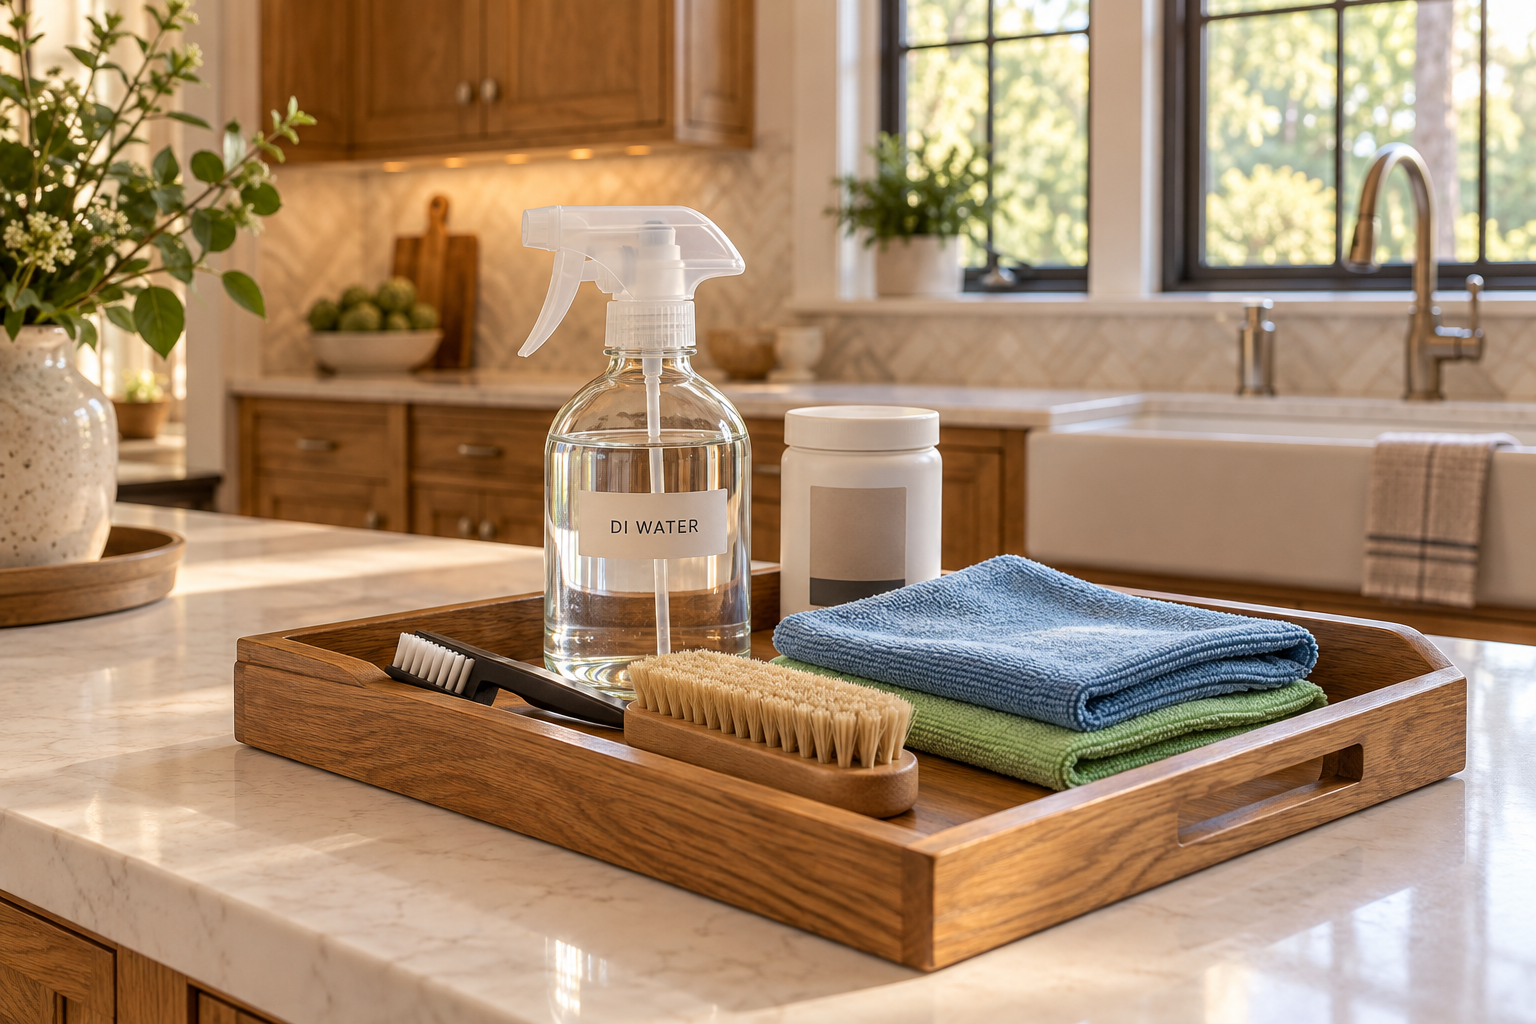
Short Summary: Pick deep or general cleaning, choose a timeline that fits your kitchen and your schedule, gather the tools, then follow the 8 steps in order. After that, work through the 11 critical areas.
Phase 1 is the "Get Your Kitchen in Good Condition" step.
A) Deep cleaning or general cleaning?
Deep cleaning means more detailed wiping and more work inside appliances. General cleaning covers visible surfaces, light dusting, vacuuming, mopping, and basic tidying.
This is about HOW you clean, not WHAT you clean.
- Deep Cleaning Methodology: I hand wipe ALL surfaces—horizontal AND vertical. It's more thorough and takes longer. I use it for setup, move-ins, and heavy-cooking households.
- General Cleaning Methodology: I hand wipe ONLY horizontal surfaces. I dust vertical surfaces and hand wipe only where I see stains.
The science: Dirt attaches to horizontal surfaces. Dust on vertical surfaces usually falls instead of sticking—unless oily cooking layers oil onto those surfaces.
B) Determine your timeline options
Start with one question: How much time do you really have? That's harder to answer during a move, a busy shift schedule, or a work week with a commute.
Execution strategy:
- The Relay: 1 weekend. Best for small kitchens in apartments and condos.
- The Long Distance: 2 weekends. Best for medium and large kitchens in townhomes and single-family houses.
C) Tools and Supplies I Use
Here are the tools I use. I prefer chemical-free options like DI water and HOCl to avoid residue.
D) My 8-step kitchen cleaning process (the order matters)
These steps apply to BOTH general and deep cleaning. The difference is hand-wiping vertical surfaces.
Step 1: Prepare Your Station
I put on my apron with tools in the pockets and set my bucket beside the sink. Everything is ready, so I move less.
Step 2: Remove Garbage and Rugs
I take out all the trash and remove rugs and mats—including the mat by the garage or back door. I clear the workspace before cleaning.
Step 3: Spray and Soak (The "Free Lunch")
I spray the sink, stove, counters, and tough spots. The solution works while I do other tasks. Soaking loosens stuck deposits with no extra effort.
Step 4: High-Low Dusting
I start at the TOP and work DOWN—ceiling corners, soffits, and cabinet tops first. Dust falls to the floor, which I clean last. I cover horizontal and vertical surfaces, corners, and around furniture legs.
Step 5: Dry Trip (First Circle)
I start at one spot and move clockwise, section by section, top to bottom: upper cabinets, countertops, lower cabinets, and baseboards.
- Option A (Wipe cleaning): I hand wipe or dust based on the method (Deep vs. General).
- Option B (Steam cleaning): I use a steam cleaner with the right attachment, work in small sections, and wipe dry right away. Caution: I do NOT steam unsealed wood, laminate, or granite.
Step 6: Wet Trip (Second Circle)
I go back to the wet areas I soaked earlier: the sink, the stove or cooktop, and the backsplash.
- Option A (Wipe cleaning): I wipe these areas clean now.
- Option B (Steam cleaning): Steam works well on stovetop grease and sealed tile backsplashes. It loosens burnt-on residue. I follow with a microfiber cloth.
Step 7: Disinfect High-Touch Areas
- Option A (Wipe cleaning): I spray HOCl on handles, knobs, and switches—including the garage-to-kitchen door handle. I leave it for the label's dwell time (I use 7 minutes). Note: Disinfectant won't work on dirty surfaces. That's why this step comes AFTER cleaning.
- Option B (Steam cleaning): If I steam clean, disinfecting is already done. Steam at 200°F kills 99.9% of bacteria and viruses without chemicals.
Step 8: Floor Cleaning
The floor is always LAST because all the dirt has fallen there.
- Option A (Wipe cleaning): I vacuum in one direction, then across. Then I mop in one direction, then across. In winter, I vacuum first to lift salt and grit before any water touches the floor.
- Option B (Steam cleaning): I use a steam mop and work in sections on sealed floors. Many steam-cleaning guides cite sanitizing benefits on sealed surfaces when used correctly; follow tool and floor manufacturer rules (Better Homes & Gardens, 2025). Caution: Do NOT use it on hardwood, unsealed floors, or older sheet vinyl with lifting seams—steam can warp or loosen them.
"Excellence is not a skill. It is an attitude."
— Ralph Marston
E) After the 8 steps: follow the critical kitchen areas (wipe option + steam option)
After the 8 steps, I work through specific appliances and critical areas. Here's my breakdown for each.
1) Inside refrigerator
Your refrigerator holds raw meats and leftovers. It needs a full food-safety reset.
Why: Drexel found 43% of home fridges above 41°F.
Wipe cleaning: empty → wash shelves → DI wipe → dry → HOCl disinfect.
Steam cleaning: dry-steam interior → wipe dry (avoid gaskets).
Time: 20–45 min.
Result: no odor, safer storage.
Pro tip: Clean it the night before grocery day and date-label leftovers. Moving in? Clean it before the first grocery run—and pull the fridge out to clean the floor and wall behind it while the kitchen is empty.
2) Inside oven
Grease splatters build up and become a fire hazard.
Why: grease buildup is linked to cooking fire risk.
Option 1 (recommended): self-clean → ventilate → wipe ash.
Option 2: overnight soak → scrape → wipe until residue-free.
Option 3: steam-clean cycle or steam tool on cooled surfaces → wipe dry.
Time: 30–60 min active + 12+ hrs passive.
Result: less smoke and odor.
Pro tip: In winter, open a window a crack and run the hood fan during self-clean. Older ovens may not have a self-clean cycle—use the overnight soak instead.
3) Stovetop + backsplash
The stovetop and the wall behind it take the most grease. Buildup is a fire hazard and looks messy.
Why: grease on knobs moves to hands and food prep.
Wipe cleaning: soak parts → degrease → scrape spots → dry.
Steam cleaning: steam lightly → wipe dry.
Time: 15–30 min.
Result: no sticky knobs. The stovetop shines.
Pro tip: Older coil burners? Soak the drip pans while you do Step 4. A 2-minute wipe after cooking keeps hosting easy.
4) Inside microwave
It's covered in food splatter that breeds bacteria.
Why: splatter turns into odor fast.
Wipe cleaning: heat a bowl of water → let it sit 2 min → wipe.
Steam cleaning: steam interior → wipe dry.
Time: 10–15 min.
Result: no smell. No contamination.
Pro tip: Over-the-range microwaves also collect grease on the bottom vent and filter. Wipe the underside, not just the inside. And don't forget the handle.
5) Inside dishwasher
A clogged filter breeds bacteria and creates odors.
Why: dirty filters = odors and cloudy dishes.
Wipe cleaning: rinse filter → scrub → wipe gasket and edges → run hot cycle.
Steam cleaning: steam door edges and gasket lightly → wipe dry → run hot cycle.
Time: 20 min active + 2 cycles.
Result: cleaner dishes, less odor.
Pro tip: Seeing white film on glasses or the door? That's often mineral scale from tap water. Run an empty hot cycle with a cup of white vinegar on the top rack (check your manual first).
6) Range hood filter
A saturated filter is a major fire hazard.
Why: it traps airborne grease; buildup is a safety issue.
Wipe/soak cleaning: remove → soak in hot water + soap + baking soda → scrub → dry.
Steam cleaning: steam hood exterior only (follow manufacturer).
Time: 30–45 min (including soak).
Result: better ventilation, less cabinet film.
Pro tip: Many older hoods recirculate air instead of venting outside. If yours does, clean the filter more often—monthly for heavy cooking, every 6–8 weeks for moderate use.
7) Kitchen sink
Your sink can hold more bacteria than almost anywhere in your home.
Why: NSF found coliform on 45% of sinks.
Wipe cleaning: scrub basin + drain rim → rinse → HOCl → dry.
Steam cleaning: steam basin and faucet lightly → wipe dry → HOCl touchpoints.
Time: 15–20 min.
Result: no slime, no smell. Just clean!
Pro tip: Dry the faucet and sink with a cloth after the final rinse. Tap water that air-dries leaves white spots.
8) Countertops
Your main food-prep surface must be residue-free.
Why: raw food, grocery bags, work bags, and mail all land here. Germ heaven!
Wipe cleaning: brush dry dust to floor → soak → DI wipe → scraper removes spots → HOCl disinfect.
Steam cleaning: brush dry dust to floor → steam sealed counters → wipe dry → HOCl if needed.
Time: 30–45 min.
Result: no tacky film.
Pro tip: Laminate counters? Skip steam and keep water away from seams and the backsplash edge. Set one spot as a drop zone for bags so the prep zone stays clear.
9) Cutting boards + sponges/towels
Grooves can hold Salmonella and E. coli.
Why: coliform on 75%+ of sponges and rags.
Boards (wipe cleaning): hot soapy scrub → baking soda scrub → HOCl → air-dry upright.
Boards (steam cleaning): steam lightly → wipe dry → air-dry.
Sponges/towels: replace sponges every 1–2 weeks; swap towels every 2–3 days (wash hot).
Time: 10–15 min per board; 5 min supplies reset.
Result: fewer germs spread while "cleaning."
Pro tip: Never use sponges for raw meat cleanup. Try a dish brush—it dries faster than a sponge.
10) Cabinets (outside + inside) + baseboards (zone method)
Airborne grease settles here and forms an invisible sticky film that traps dust. Crumbs inside attract pests.
Why: airborne oil settles and turns sticky.
Wipe cleaning: DI wipe → degrease near the stove and handles → dry. Inside: vacuum crumbs → DI wipe → dry.
Steam cleaning: steam carefully on sealed surfaces only → wipe dry (test first).
Time: outside 1–2 hrs; inside 2–3 hrs full kitchen; baseboards 15–20 min.
Pro tip: Oak and older wood-finish cabinets: use a barely damp cloth and dry right away. Don't forget soffits and cabinet tops. Start with lower cabinets if young kids or grandkids visit.
11) Overlooked areas + small appliances
These places hold bacteria but often get missed.
Overlooked list: spice containers, can opener, fridge handle, stove knobs, switches, trash lid, drawer pulls, light fixtures, top of fridge, garage-entry door handle, toe-kicks.
Wipe cleaning: DI wipe → HOCl touchpoints → dry.
Steam cleaning: steam sealed surfaces → wipe dry (avoid electronics).
Time: overlooked areas 30–45 min.
Small appliances (5–15 min each): coffee maker, stand mixer, blender, slow cooker, roasting pan, toaster, air fryer.
How: unplug → wash removable parts → DI wipe exterior → dry.
Pro tip: Wipe trash lids and switches weekly, clean appliances right after use, and store what you don't use daily.
Thinking about outsourcing? See "Should You Outsource?" below. If you want professional help, Fresh Tech Maids offers deep cleaning services in Palatine through our Arlington Heights & Northwest Suburbs team.
Kitchen Deep Cleaning in Palatine: What Changes in Older Houses, Townhomes, and Condos?
Short Summary: Most Palatine kitchens are in established homes, not new builds. Match each method to the surface, plan for winter salt near garage and mudroom entries, dry fixtures to stop hard-water spots, and stop cleaning when you find a leak, mold, or plumbing problem.
The 8 steps don't change in Palatine.
The kitchens do.
Palatine's housing is a mix. 42.5% of homes are detached single-family houses. Another 15.5% are townhomes and other attached homes. Another 34.3% are in apartment and condo buildings with five or more units (CMAP, 2024).
And most of those homes are established. 45.5% were built between 1970 and 1989. Only 1.8% were built in 2010 or later. The median year built is 1977 (CMAP, 2024).
"Clean the surface you have—not the one you wish you had."
— Author: Wells Ye
Why does an older kitchen need a different touch?
A 1970s or 1980s kitchen often mixes original and updated materials. You might have new quartz counters next to 40-year-old oak cabinets. Or a new floor next to original tile.
Aggressive scrubbing and too much water can damage older finishes. So I clean every overlooked area while I'm there—but I match the method to the surface.
What about soffits, cabinet tops, and range hoods?
Many kitchens from this era have soffits or open space above the upper cabinets. Airborne grease lands there and mixes with dust. It turns into a sticky felt you can't see from the floor.
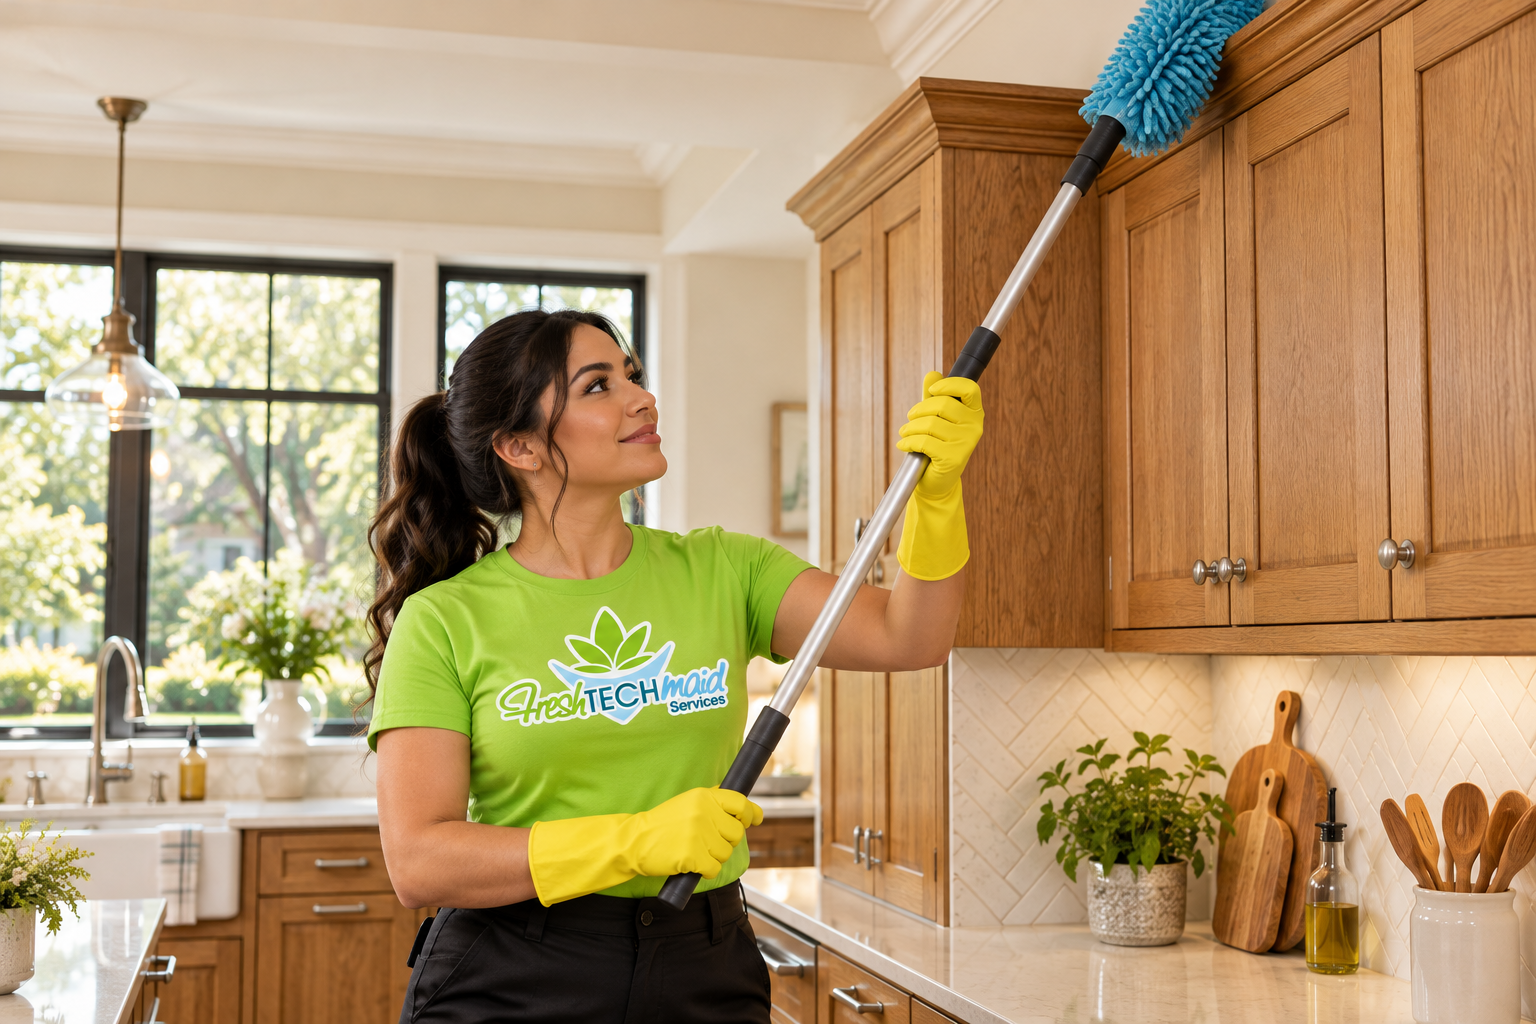
That's why Step 4 starts at the ceiling. Use the extended duster first, then a damp DI cloth from a 2-step ladder.
If your range hood recirculates air instead of venting outside, more grease settles on nearby cabinets. Clean the hood filter more often and wipe the cabinet sides next to the range at every reset.
How do winter salt and garage entries affect the kitchen?
In many Palatine houses and townhomes, the kitchen sits next to the garage, mudroom, or back door. That makes the kitchen floor part of the entry path.
From November to March, expect salt, grit, and slush to travel in on shoes and grocery bags. Grit scratches floors. Salt dries into a white film. Melting slush leaves moisture along toe-kicks and baseboards.
- Vacuum the entry path before any water touches the floor.
- Damp-mop with DI water. It lifts salt film without leaving new residue.
- Wipe the toe-kicks and the bottom of lower cabinets nearest the door.
- Dry the floor edges and baseboards.
- Put a washable mat at the garage door and wash it weekly in winter.
Why do faucets and dishwashers show white spots?
Palatine's water comes from Lake Michigan through the Evanston treatment facility and the Northwest Water Commission (Village of Palatine). Tap water carries dissolved minerals. When it air-dries, the minerals stay behind as white spots.
- Wipe fixtures with DI water, then dry with a clean cloth.
- For light scale on faucets, use diluted white vinegar on a cloth, rinse with DI water, and dry. Test finishes first.
- Clean the dishwasher filter and run an empty hot cycle if glasses look cloudy.
- Check the Village's annual water quality report if you want details on your water.
Is it a cleaning problem or a maintenance problem?
Cleaning removes dirt. It doesn't fix a leak. Before you treat a stain or smell as "move-in dirt," check what's causing it. This matters most under the sink, around the dishwasher, and in lower-level kitchenettes or wet bars.
When should you schedule a kitchen deep clean around a move?
Ask one question: When will the kitchen be empty, and how much time do you really have before boxes land on the counters?
An empty kitchen is the easiest kitchen to deep clean. You can reach every cabinet shelf, every drawer, and the floor behind the fridge and range.
Moving takes more than cleaning. You may be packing, meeting movers, changing utilities, waiting for deliveries, and still going to work. If the window is short, a professional move-in cleaning or move-out cleaning can take the kitchen off your list.
3 mistakes I see in older kitchens
Mistake #1: Steaming laminate or wood. Fix: use a damp DI cloth and dry right away. Save steam for sealed tile, glass, and stainless.
Mistake #2: Using harsh degreaser on worn cabinet finishes. Fix: degrease only near the range and handles. Use DI water everywhere else.
Mistake #3: Treating a musty smell as dirt. Fix: look for water stains, soft cabinet floors, and leaks first. Clean after the repair.
Phase 2: Maintenance Cleaning — Keep It Clean
Short Summary: Maintenance is quick and light—20 to 45 minutes. Your household and cooking habits set the frequency. Each visit, add one rotating key area.
Maintenance is the same basics on repeat. It keeps your kitchen clean with little effort.
This is NOT deep cleaning.
Apply your survey results to Phase 2
The maintenance routine (same tasks, different frequency)
This short version of the 8 steps takes 20–45 minutes.
- High-low dusting: focus on visible dust (3 min).
- Surface sweep: put items back where they belong (5 min).
- Stovetop quick wipe: wipe splatters before they bake on (3 min).
- Sink wipe: quick clean, then dry the faucet (2 min).
- Appliance exteriors: quick wipe (5 min).
- Floor: quick vacuum and mop (7 min). In winter, add 3 minutes for the garage-entry path.
The Rotation Concept
Instead of cleaning everything at once, I rotate through key areas. Each time you do maintenance, add ONE key area:
- Inside refrigerator: wipe shelves and check dates.
- Inside dishwasher: clean the filter and run a vinegar cycle.
- Under the hood: soak the range hood filter.
- Small appliances: deep clean 2–3 items.
Note: Many Palatine households choose recurring cleaning for maintenance and handle the small daily resets themselves. See our Arlington Heights & Northwest Suburbs maid service page for details.
Phase 3: Periodic Reset — Occasional Deeper Cleaning
Short Summary: A periodic reset is a mini Phase 1. Follow the 8 steps but pick only 1–2 deep areas, then rotate. Tie resets to the season: before winter hosting and after winter salt.
Based on how often you cook and your survey score, you'll need an occasional deeper clean. This is your "mini Phase 1."
1) Determine your reset frequency
2) The key difference from Phase 1
Phase 1 = do everything once.
Phase 3 = follow the 8 steps, but pick 1–2 deep areas and rotate:
- Range hood filter
- Inside fridge
- Inside dishwasher
- Inside oven
Method: Follow the Phase 1 method, but focus only on your areas of concern. Unlike the first setup, where you do everything, here you pick specific zones—for example, just the oven and the hood filter.
Should You Outsource?
Short Summary: If you answer YES to 3 or more questions, consider outsourcing Phase 1, a periodic reset, or ongoing maintenance. The main reason for most Palatine households is time and workload.
Before you decide, take this survey.
It's about how YOU feel about cleaning, YOUR time, and YOUR budget. These are the questions behind house cleaning Palatine and maid service Palatine searches.
Palatine residents work in health care, professional services, manufacturing, retail, and education (CMAP, 2022). Many commute to Chicago, Schaumburg, Arlington Heights, or Elk Grove Village. One in five works from home.
Results:
- 0–2 Yes: DIY is best — no outsourcing needed.
- 3+ Yes: Consider outsourcing — fully or for specific phases.
If you want professional help, Fresh Tech Maids offers this service in Palatine using the exact process described above.
"If you want to do a few small things right, do them yourself. If you want to do great things and make a big impact, learn to delegate."
— John C. Maxwell
Real Life Stories: One DIY Win + One "I Needed Help" Moment
DIY win (remote-working professional in a condo)
Priya works from home in a one-bedroom condo near downtown Palatine.
Her galley kitchen was small, so she used "The Relay" and finished in one weekend.
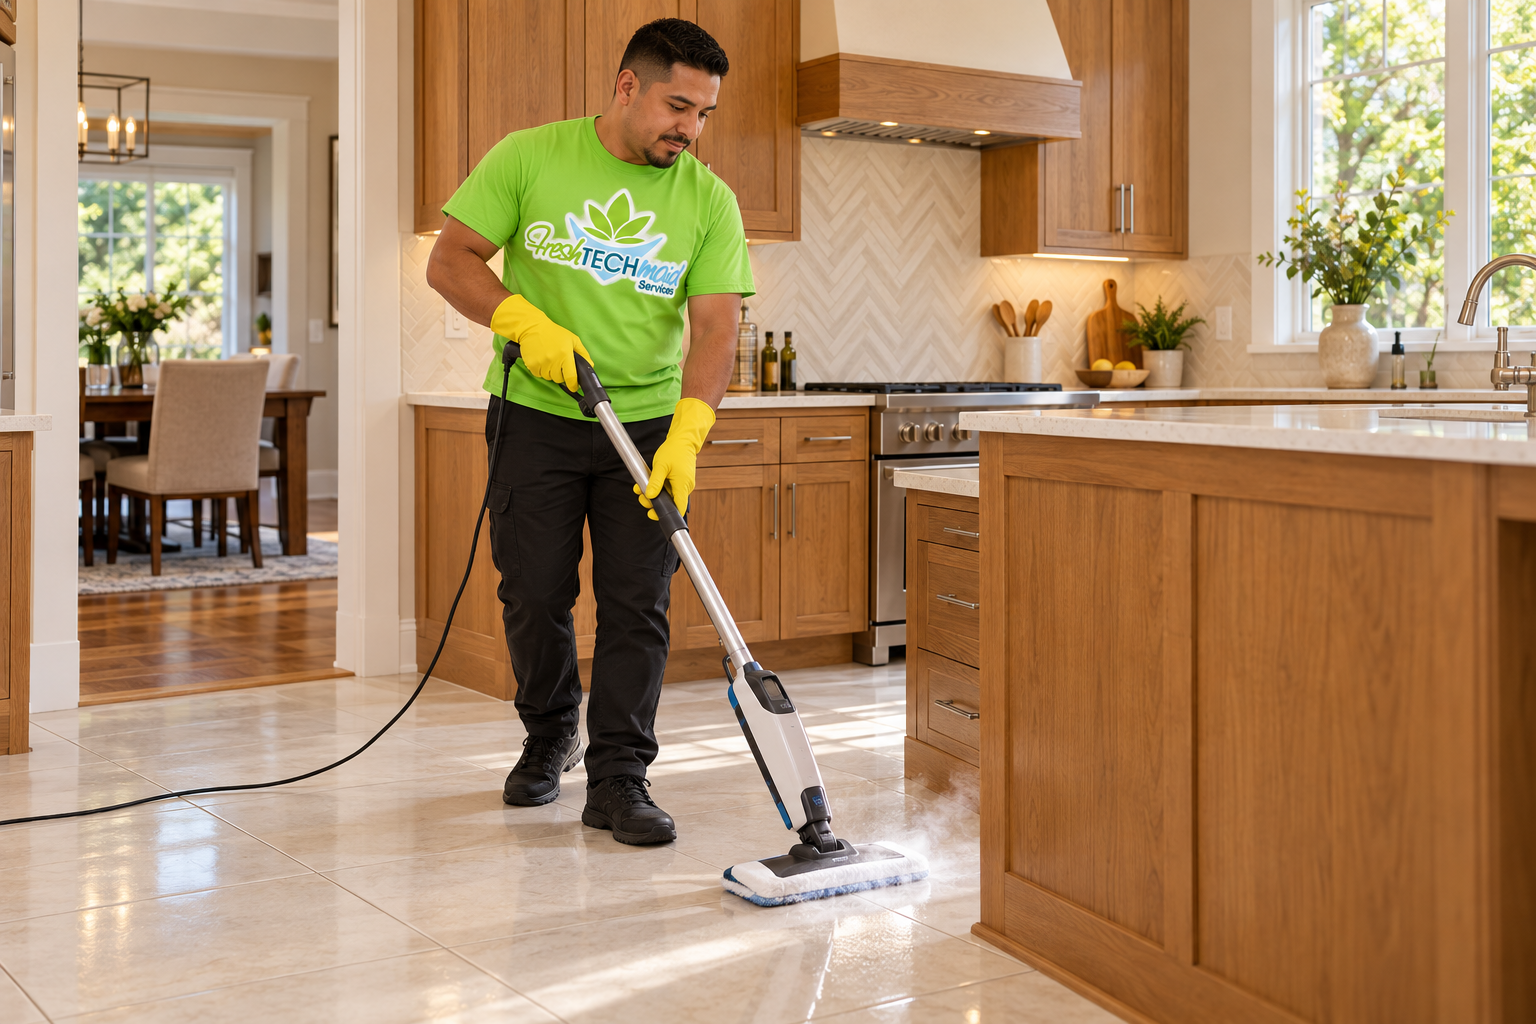
She used the steam option on the microwave, stovetop, and sealed tile backsplash. She used a damp DI cloth on her laminate counters.
With the right tools, she keeps the kitchen clean on her own.
Result: 15 minutes a week keeps the kitchen stable.
"I needed help" (busy two-career household in an older house)
Tom is a nurse who works 12-hour shifts. Maria teaches middle school. They bought a 1978 split-level in Palatine.
They had a two-week window between closing and the moving truck.
They started the kitchen themselves. After four hours, they'd finished two cabinets. The oak finish needed gentle care, the hood filter was saturated, and the floor by the garage door had years of salt film.
They took the assessment and scored 9. They booked a Phase 1 move-in deep clean with Fresh Tech Maids before the furniture arrived.
Now they handle Phase 2 maintenance on their own.
Result: One reset made weekly upkeep quick. They unpacked into a clean kitchen and kept their days off.
Frequently Asked Questions
Your Palatine Kitchen Fresh Start
If your kitchen always feels "almost clean," you're not failing.
You're missing a system.
A system of 3 phases:
Phase 1: Reclaim your kitchen. Work through the 8-step process so every surface, appliance, and hidden corner gets attention—using the right method for each surface.
Phase 2: Based on how often you cook, follow simple routines that take minutes, not hours. This is where "almost clean" becomes "always clean."
Phase 3: The rotation. Monthly or quarterly attention to problem areas and small appliances, timed around the seasons. No more forgotten grease traps or ignored cabinet interiors.
Your 5-step action plan for this week:
- Take the 10-question assessment to see where your kitchen stands.
- Choose your pace: Relay (1 weekend) or Long Distance (2 weekends). Moving? Plan around the window between getting the keys and moving in.
- Follow the 8-step deep reset—one zone at a time, matched to your surfaces.
- Set your maintenance frequency based on your household and cooking habits.
- Put your first rotation on the calendar (and protect that time).
"I do not view a healthy kitchen as a luxury. It is a necessity. It fuels my life."
— Author: Wells Ye
My home is my sanctuary, but the kitchen is my heartbeat. It protects my physical and mental health.
I do not view a healthy kitchen as a luxury.
It is a necessity.
It fuels my life.

Free Checklist! Print it. Pin it. Use it.
The Complete Kitchen Deep Clean Checklist: Your Guide to a Food-Safe Fresh Start
Inside this checklist:
- The 8-step professional cleaning process
- Monthly calendar tracker with weekly checkboxes
- Daily and weekly task instructions
- Bi-weekly, monthly, and quarterly schedules
- And more…
Use this as a fridge note or phone checklist.
Grab Your Kitchen Checklist!
Learn The Cleaning Company Secrets, Now!